This is our step-by-step home renovation guide for Singaporeans! After our wedding and honeymoon, we had little time to rest because it was time to get on with the renovation. Our renovation journey was definitely not an easy process, but looking at our pretty house now we feel that all our hard work was worth it. If you are a new homeowner this guide should be useful for you!
1. Evan and Raevian’s Home Tour (Coming Soon)
2. Door Opening Ritual
3. Defects Checking
4. Cement Screeding
5. Choosing Our ID
6. Designing Our Home
7. Choosing Tiles and Vinyl Flooring
8. Electrical and Lighting Works
9. Aircon Installation
10. Carpentry Elevations
11. Choosing Our Laminates
12. Home Appliances
13. Bathroom Fittings
14. Home Doors
15. Furniture
16. Curtains
17. Moving In and Fengshui Cures
18. Weekly Progress of Renovation
1. Evan and Raevian’s Home Tour (Coming Soon)
If you simply just want to get some inspiration for your new home, you can skip all the boring details below and check out our home tour article and video! Once you are ready to dive into the details of home renovation, you can check out the informative articles in this guide.
2. Door Opening Ritual
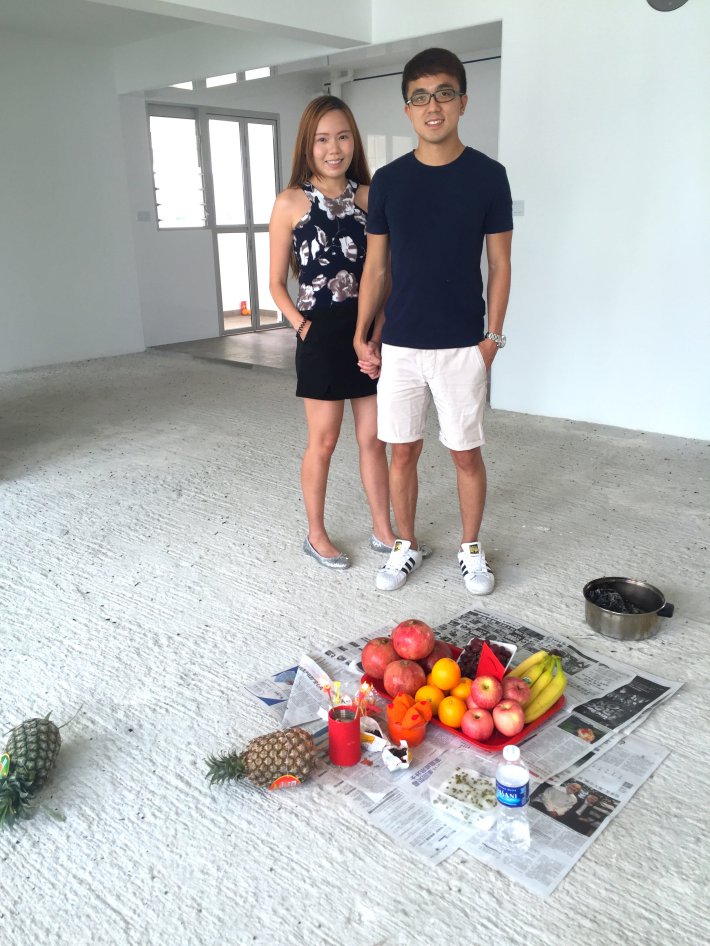
After collecting the keys for our five-room BTO, we consulted Master David Tong on the rituals and auspicious dates for door opening. This is because we wanted to have a good start to our home journey. We also installed the Uni-arm mechanism, a very useful door-stopper device.
3. Defects Checking
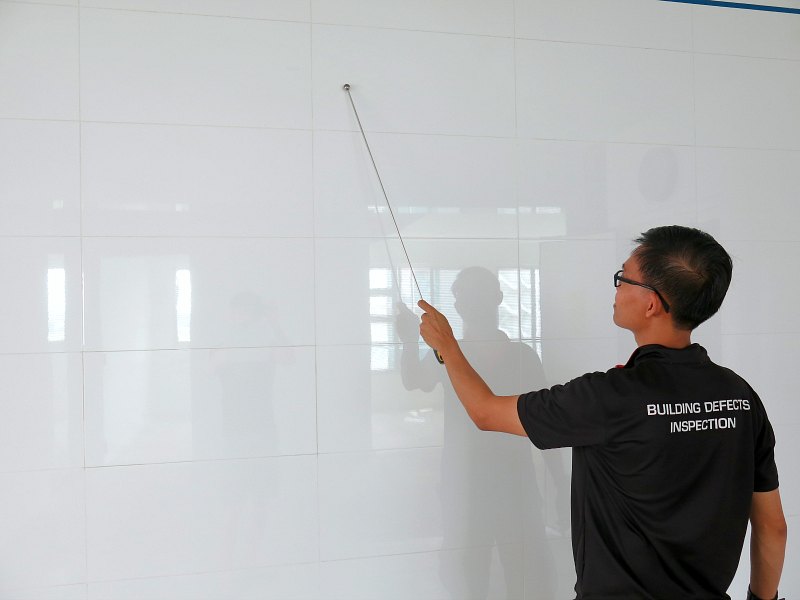
The next important task was to check for defects and get the Building Service Centre (BSC) to rectify them. For this, we engaged the service of Absolute Inspection, a local company that specialises in defects checking for new homes. Their great service saved us plenty of time, but more importantly it gave us a peace of mind knowing that we had not missed out any critical defects.
4. Cement Screeding
Next, we applied for complimentary cement screeding from HDB. Screeding refers to the application of a thin layer of cement over the floor. Its main purpose is to smoothen the floor surface. We were planning on using vinyl flooring for our living room and kitchen, so we definitely needed to do screeding first. This is because our existing concrete floor was extremely rough and uneven. If you are using tiles, there is no need to apply for HDB screeding because your contractor will take care of it for you.
5. Choosing Our ID
After completing our defects checking, we began our tedious hunt for a suitable Interior Designer (ID) or contractor for our house renovation. Generally speaking, an ID coordinates your renovation project and provides design ideas as well. Contractors execute the renovation works requested by the homeowners, but nowadays many contractors also provide design ideas and 3D drawings too. Therefore, we kept an open mind and shortlisted both IDs and contractors during our search.
6. Designing Our Home
 this is a 3D drawing
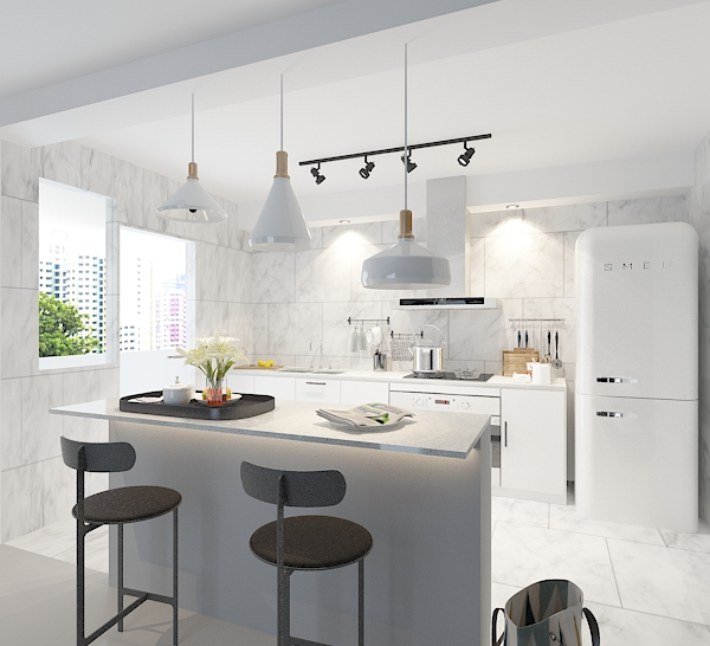
After finally deciding on our ID, it was time to get down to designing our house! At this stage, we worked on the designs of our living room, kitchen, rooms, toilets, etc. We had several meetings with our ID. Raevian came up with a mood board using pictures found from Pinterest and various websites. This helped to give our ID get a clearer idea of our preferred home design. After that, our ID came up with 3D drawings, which are computer-generated graphic designs of our house. These visual representations made it much easier for us to communicate with the ID.
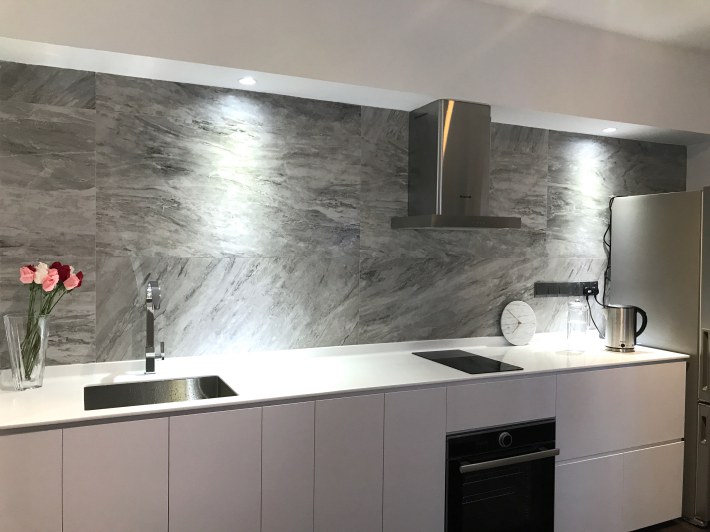
7. Choosing Tiles and Vinyl Flooring
 Hafary Gallery
 Ecopluz showroom
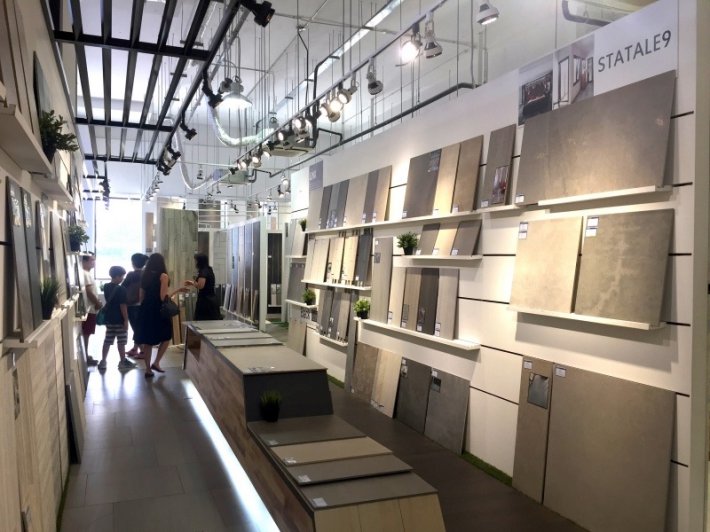
During our renovation, we visited several tiles suppliers because we wanted to choose the perfect tiles for our house. We even brought home many small tiles samples for further thinking. In the end we got our tiles from Hafary Gallery in Eunos.
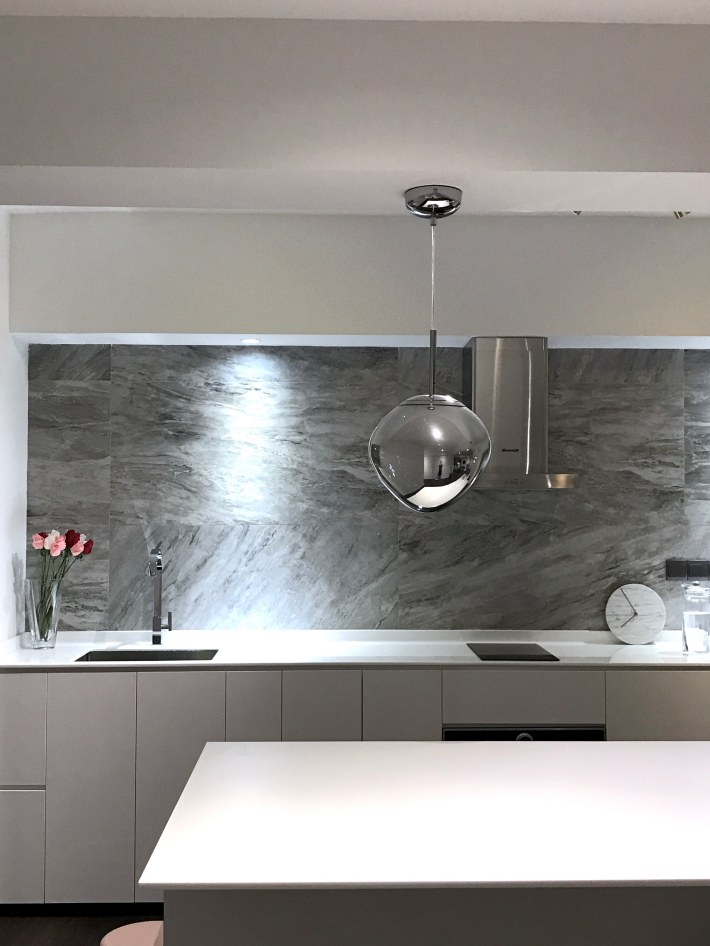
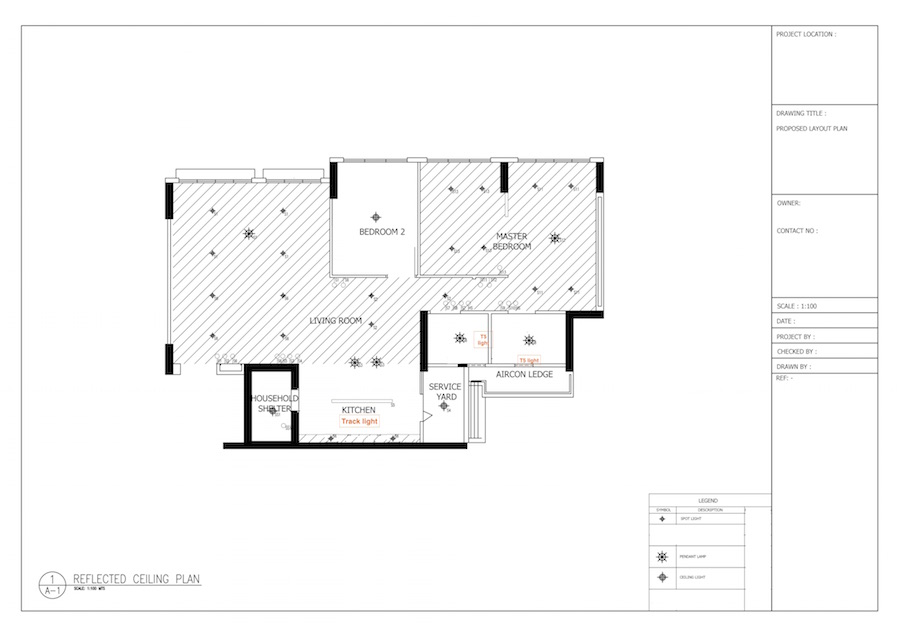
For our living room, we used the pretty vinyl flooring from Ecopluz. This was because we loved the look of the faux wood planks. We went with dark brown vinyl as we felt it exudes a classic and elegant vibe.
8. Electrical and Lighting Works
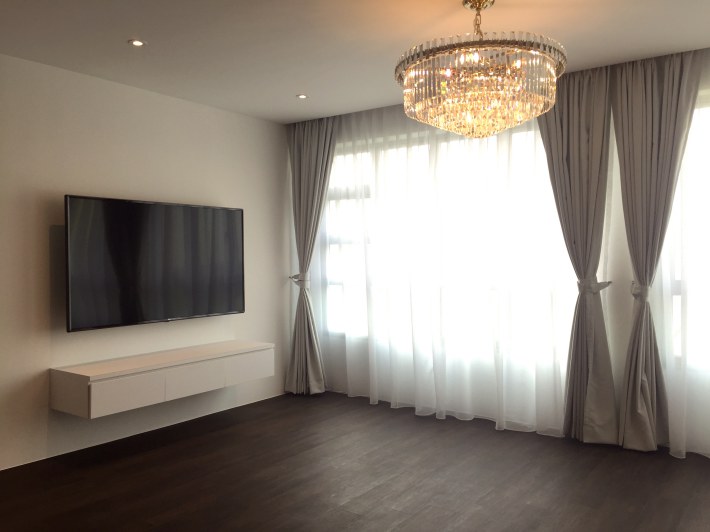
We took quite a while to plan our electrical and lighting works. For the electrical power outlets, we had to think about where we would be using our electrical appliances such as hair dryer, kettle, ironing board, etc. As for the lights, we had to visualize the type of lights we wanted (spotlights vs down lights, colour temperature, etc), as well as the quantity required. We also clarified with our ID that our electrician had the proper licence, as stipulated on the EMA website.
9. Aircon Installation
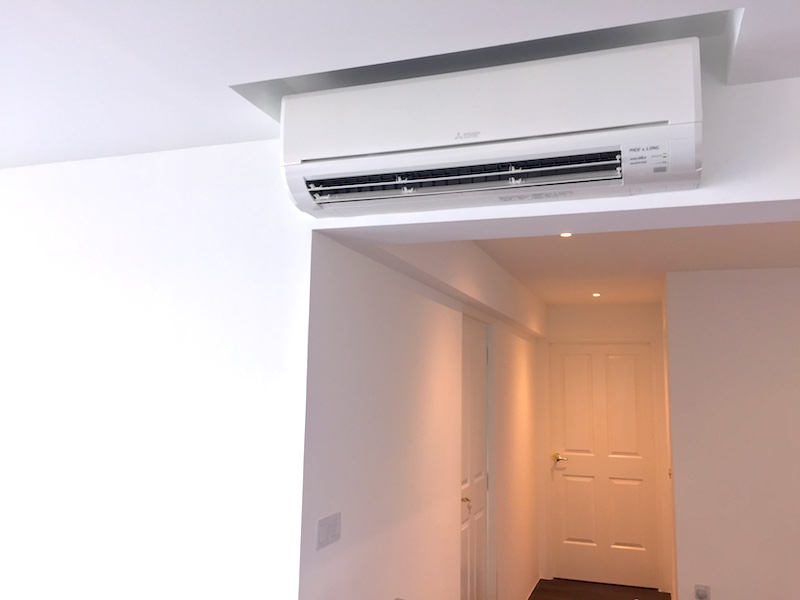
For our aircon installation, we went with Harvest Aire, a local aircon installation company. We decided to engage them after reading online reviews about their great service, high quality materials, and very reasonable price. There were two rounds of installation. The first round was to install the aircon pipings, while the second was to install the actual blowers. We have been using the air conditioners for about 9 months now and so far we are very happy with the performance!
10. Carpentry Elevations
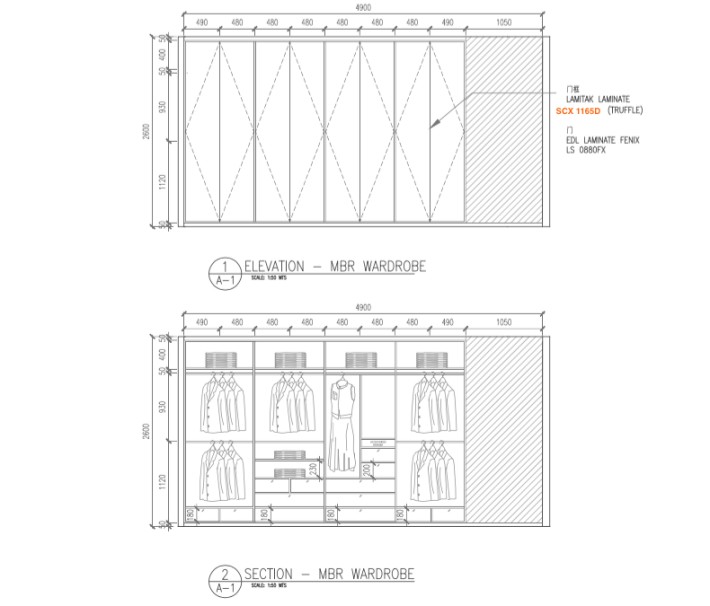
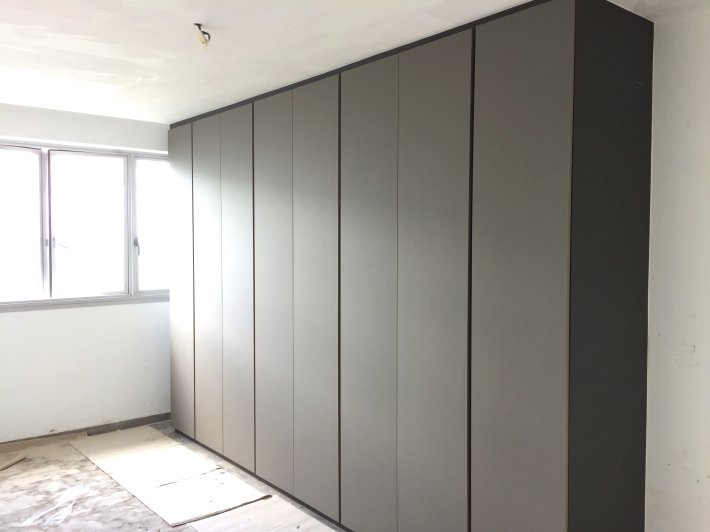
We spent many hours working on the carpentry elevations.”Elevations” are basically 2D carpentry drawings. They are provided by the ID / contractor and indicate the designs and dimensions of the carpentry works (TV console, cabinets, wardrobe, etc).
This was one of the most challenging aspects of our renovation, because it was quite difficult to visualize the carpentry designs for our house. For example, we had to think hard about how to design the compartments in the wardrobe (a big challenge for Raevian and her shoes, bags, accessories, clothes, etc). We also had to think about how many drawers we needed for our kitchen island and kitchen cabinets.
11. Choosing Our Laminates
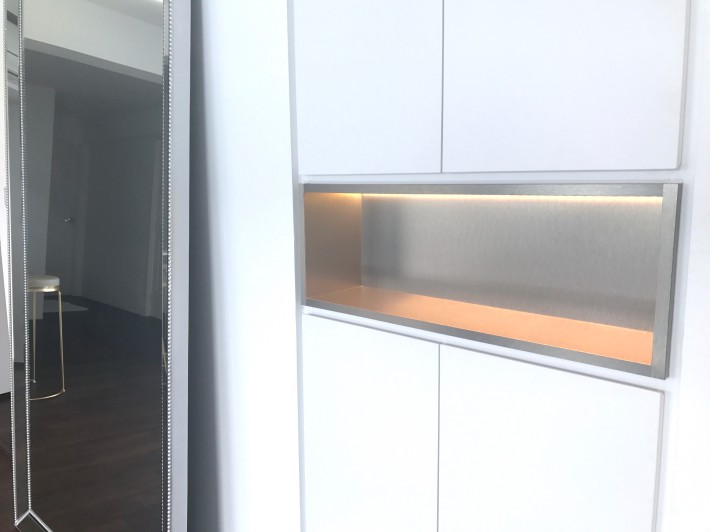
It is extremely important to choose the correct laminates for your house because they can significantly affect the overall design of your house. We visited the beautiful showrooms of EDL Laminate and Lamitak, which have large selections of laminates and provided us with much inspiration too. We went through many samples before deciding on our final laminates.
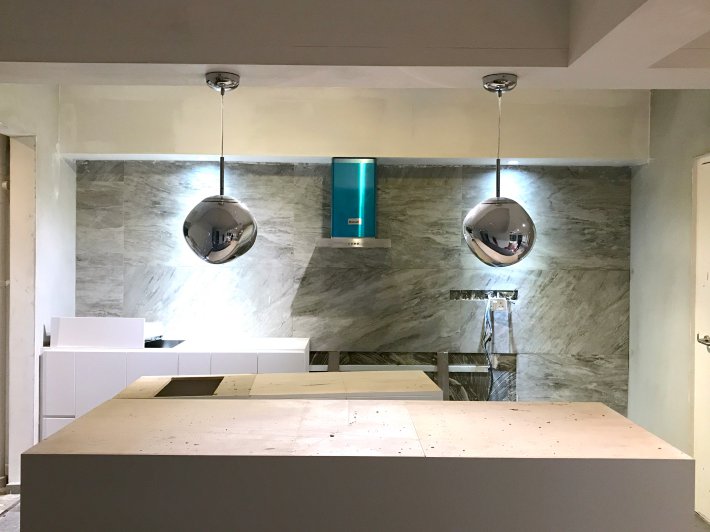
12. Home Appliances
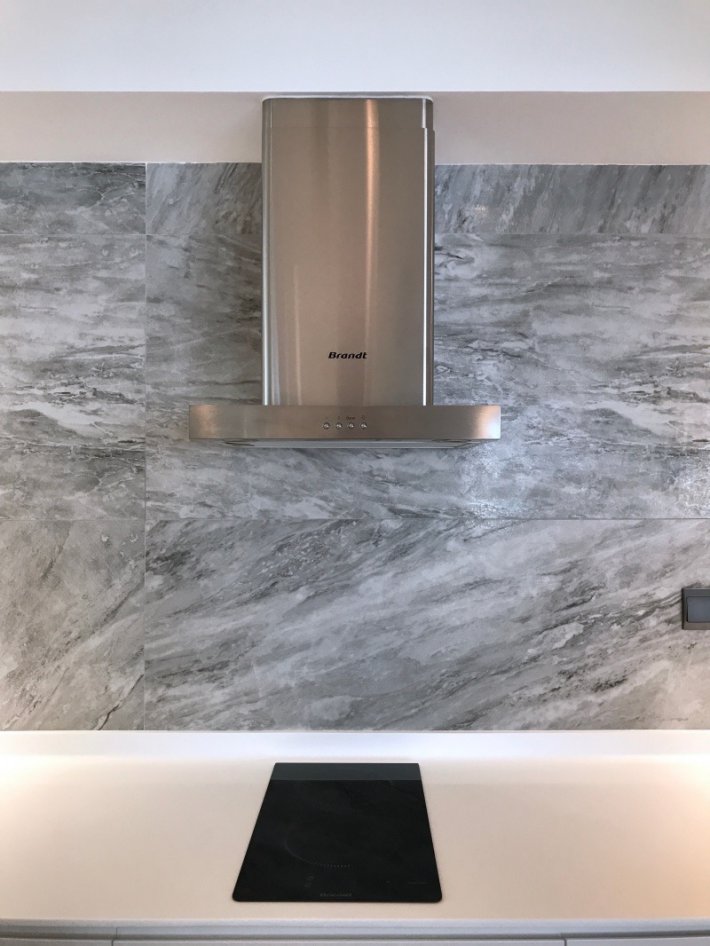
Deciding which home appliances to buy was quite a headache, because there are so many different shops, brands, and models! After much research, we finally bought our home appliances from Harvey Norman Millenia Walk, the flagship branch of Harvey Norman. We love shopping at this branch as it has three sprawling levels of a wide array of products, ranging from home accessories to beds to tables to kitchen appliances. Compared to other appliances shops, we felt that Harvey Norman had the best service by far. The staff who served us were extremely professional and polite, and we didn’t experience any hard selling at all.
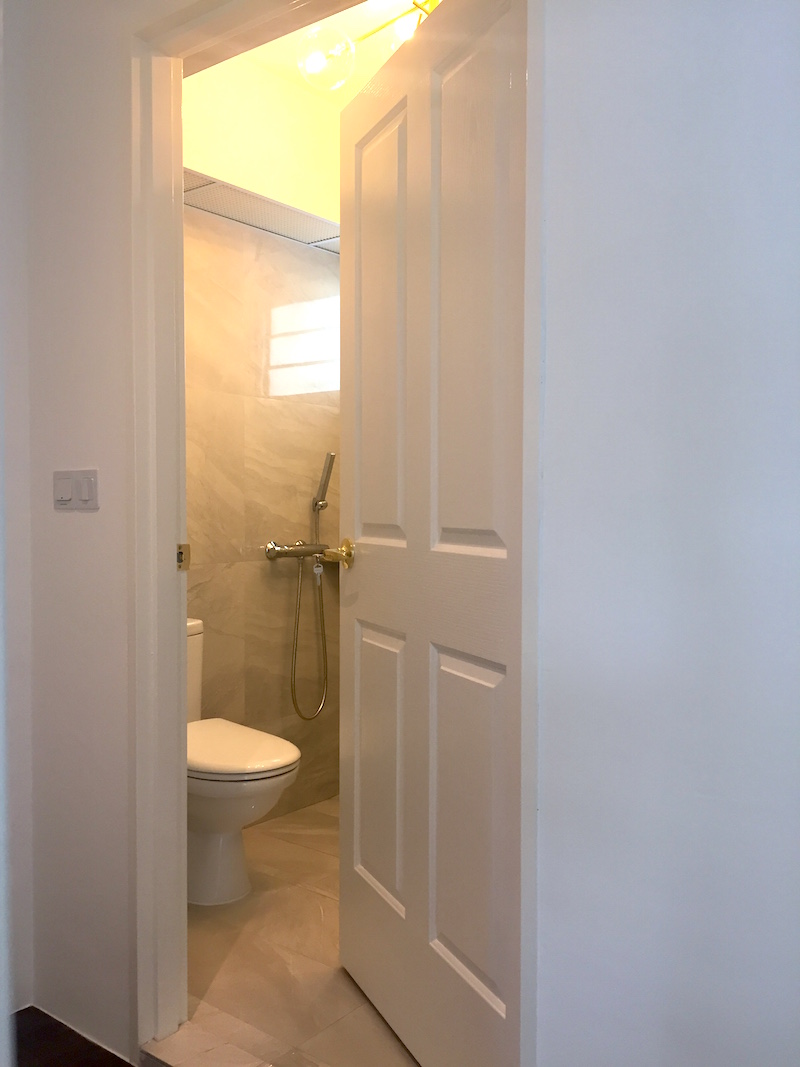
13. Bathroom Fittings

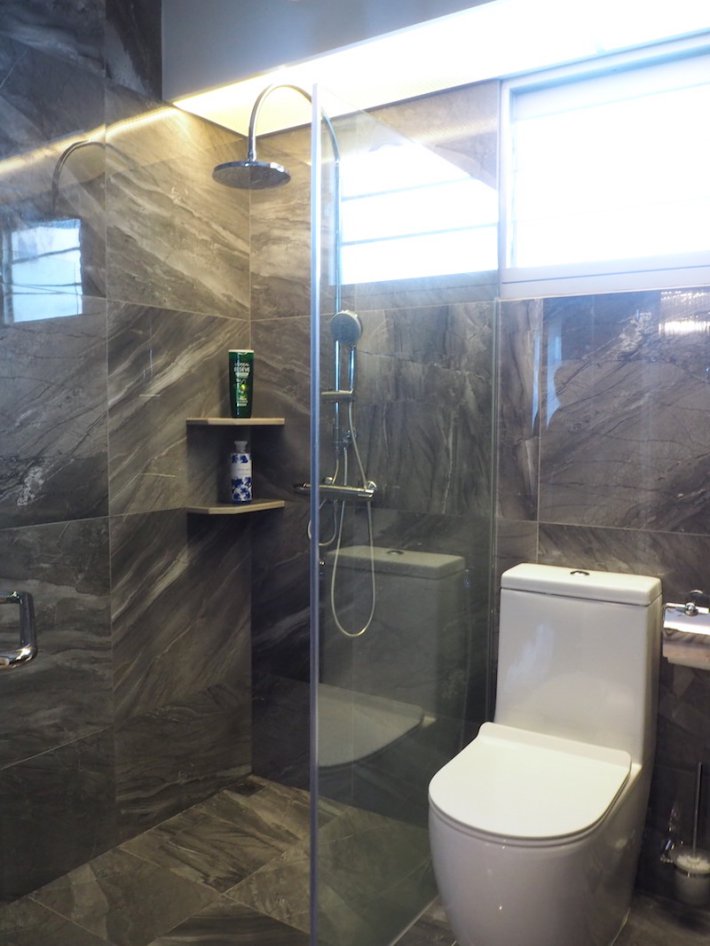
We visited many sanitary ware shops in Singapore to find the best bathroom fittings for our house. In the end, we bought all our kitchen and bathroom fittings from two showrooms: KHK Asia and Summer Hardware Trading.
KHK Asia is the official distributor for Kohler products in Singapore. It has a very elegant showroom and service was great. Even though the sanitary ware here was quite expensive because of the Kohler brand name, we still bought quite a few of our fittings from here because we loved the elegant Kohler designs.
Summer Hardware Trading is located at 255 Jalan Besar. It mainly carries items by the local sanitary brand OttO. We bought a few of our kitchen and sanitary fittings from here because we were very impressed by the wonderful service and great prices.
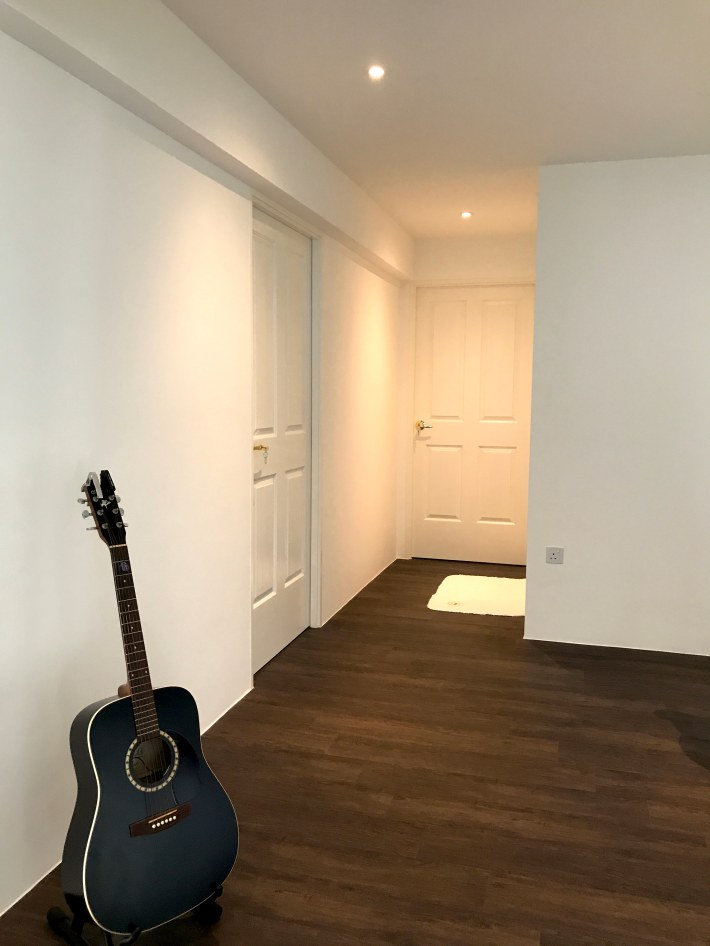
14. Home Doors
We were lucky to come across Home Door Enterprise on Carousell. This is a local door installation company helmed by Kelvin and his father “Ah An”. We decided to engage them to install all our home doors because we really liked their designs. The price was quite reasonable too. In addition, the company has 100% positive reviews on Carousell. Kelvin provided wonderful service, but more importantly we were very happy with how our doors turned out!
For our cabinet and door handles, we got them from Shanghai Tong Lee Hardware Pte Ltd, an old-school hardware shop located at Textile Centre. The shop offers a large selection of handles at very reasonable prices. After spending about two hours in the shop, we finally decided on the handles. We were very happy with how the handles elevated the look of our doors and cabinets.
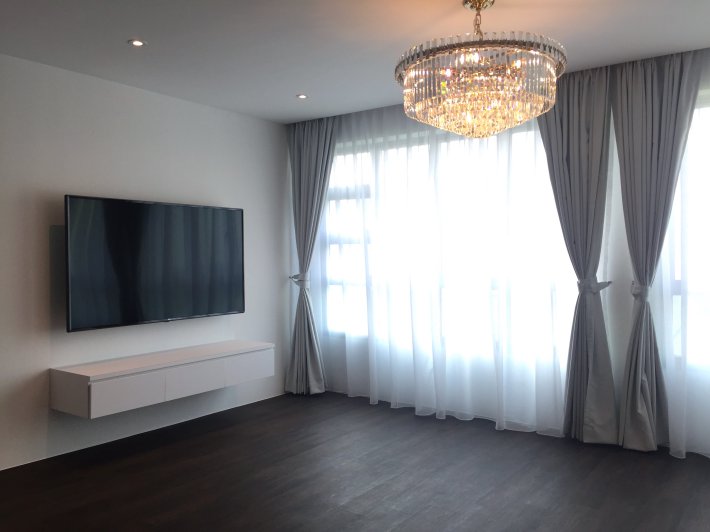
15. Furniture


We visited many furniture shops in Singapore, because we wanted to ensure that we got the perfect design. A single piece of furniture could change the entire look of the house! Finally, we got our furniture from Taylor B Fine Design. This local furniture company along Keppel Road sells a wide array of furniture, ranging from oriental-style designs to chic high-end brands. Raevian simply love the beautiful furniture here, and we made many trips to their huge showroom.
For our bed, we bought the very comfy Getha full latex bed. Getha is a Malaysian company that manufactures natural latex mattresses. We decided to get a full latex bed because it has a good balance of softness and support, is dust mite and mold resistant (these cannot survive in natural rubber), and does not release any toxic gases. There are also many other benefits which you can read in our full review.
After moving into our new house, we engaged Store Rack to install storeroom racks so that we could properly store our tons of belongings.
Raevian also made it a priority to install a magnetic insect screen to keep out any unwanted visitors (cockroaches, bees, lizards, and other friends).
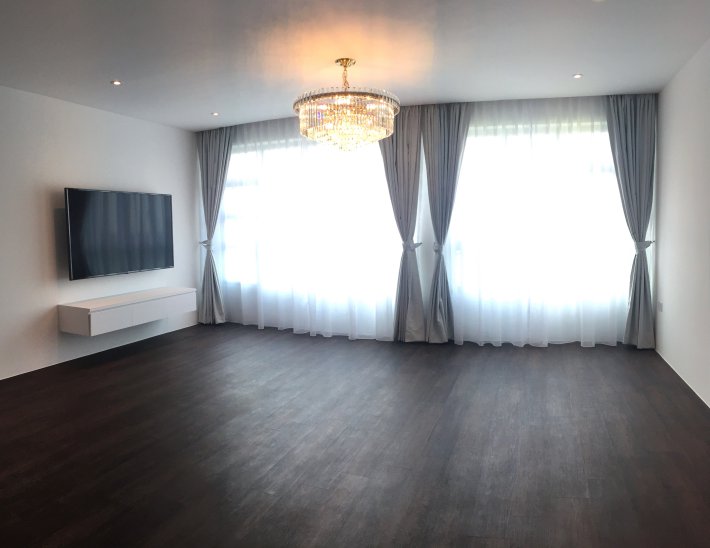
16. Curtains
For curtains, we went with Curtains Suite, an established curtain and blind store in Singapore. We recommend this company if you want high quality curtains and good service, even though the price is pretty steep. You can check out our full review of Curtain Suite.
17. Moving In and Fengshui Cures
After about half a year of renovation, it was finally time to move into our fully-renovated house! We had mixed emotions: we were happy to start our lives together in our cozy den, but we were sad to be moving out from our childhood homes.
On the auspicious moving in day (calculated by Master David Tong), we excitedly stepped into our house. We implemented the various fengshui cures instructed by Master David Tong, before proceeding with unpacking and cleaning. It was a tiring but blissful day. Hopefully, this would be the first of many happy memories to come.
Our journey as a young family had begun.
18. Weekly Progression of Renovation
If you are interested, you can check out the weekly progress of our renovation. We took photos every week during the renovation to monitor the progress. In total, the entire renovation took about six months. I hope this renovation guide will serve as a useful reference for your own renovation. Good luck!